

MAIN POINT
- Condo inspection before transfer is an important step that condo buyers should not overlook in order to increase confidence in living there. Things to check before the transfer include the floor, ceiling, room walls, bathroom system, plumbing system, electrical system, built-ins and furniture, glass doors, windows, balconies and railings, using tools such as coins, marbles, and charging cables to help check the quality of the room.
- In case damage is found in the unit, you should gather information and notify the project staff immediately to schedule repairs to bring the issues back to normal condition, so that the buyer can feel reassured that the room they purchased is safe and free of defects.
Before the buyer accepts the transfer of condo ownership, it is necessary to inspect the room thoroughly first to ensure that the room is truly ready for use and comfortable to live in. Living Insider will take you through the checkpoints, the tools you need to prepare, what to do if problems are found, and why inspecting a condo before accepting the ownership transfer is so important.
10 Condo Inspection Tools You Must Bring Along

| Condo Inspection Tool | How to Use |
| Post-it notes | Stick them on spots that need repair or correction. |
| Paper and pen | Use to note down details such as which points need to be checked, which points have not yet been checked or have been checked, and which points need to be fixed. |
| Condo floor plan | Use as a reference during the inspection to get a clear overall picture. |
| Camera or mobile phone | Use to take photos documenting the parts that need fixing as evidence. |
| Flashlight | Used to inspect dark areas or places with insufficient light, such as above the ceiling and pipes |
| Battery charger cable or screwdriver | Used to test the electrical system and all outlets in the room |
| Cutter or scissors | Used for cutting electrical tape or other things if needed |
| Marble (spirit level ball) | Used to check floor slope |
| Coin | Used to tap on the floor and listen to the tile sound to test the tile installation—the tiles must not have air cavities inside that risk bursting or cracking |
| Water bucket | Used to test water flow or to test the slope of the bathroom floor and drainage |
17-Point Checklist with How to Inspect a Condo Yourself
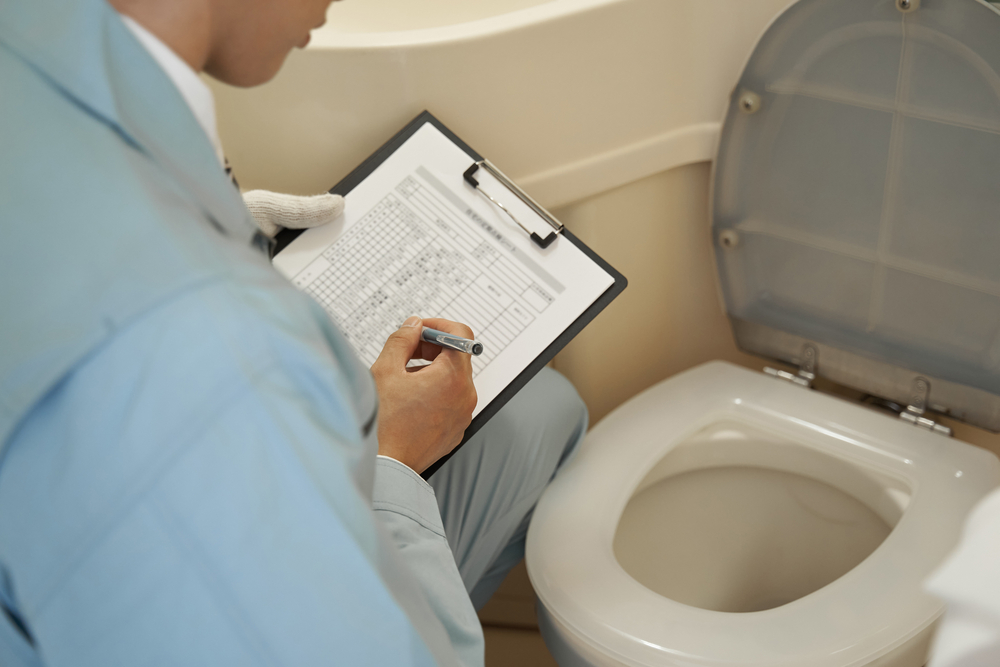
1. Flooring in every room
Check the floor to see which spots are uneven, whether the floor is normal and meets standards by walking throughout the room, and check whether the floor is sloped using a marble. If the marble placed on the floor slides or rolls in any direction, it means the floor is sloped. Additionally, in the case of laminate flooring, there must be no chipped or cracked marks, and wood floors or other flooring materials must not sink or bulge
2. Gaps in the baseboard
The baseboard is the joint between the wall and the floor. You should check whether the baseboard has gaps or cracks, because the baseboard must be flush against the wall with no gaps or separations, to prevent moisture from seeping into the gap, which could cause mold or make the laminate floor swell
3. Room Walls and Ceiling
- Walls: Check for cracks, holes, gaps, or splits in the wood.
- Ceiling: Check whether the ceiling has stains or marks that could cause danger, such as mold stains, and the ceiling must be free of water leak stains or discoloration. It should be installed neatly and fit snugly, including checking that the electrical wiring above the ceiling is properly installed.
4. Painting and Wallpaper Work
- Painting work: Check that the paint inside the room is done well—whether there is cracking, peeling, raised paint bumps, or a wavy surface. If the paint job is not good, a painter should fix it properly.
- Wallpaper work: There must be no tears, sagging, hollow spots, or dents.
5. Tiles in Every Part of the Room
Tile floors should be even and level, with no chips or lifting. Check the firmness of the floor at each point by gently tapping with a coin. If the mortar under the tile is firmly bonded, the sound will not be hollow; but if the mortar is not firmly bonded, the sound will be hollow—a sign that it should be repaired.
6. Door Knobs and Hinges
- Doorknob: Check that it works normally, locks and unlocks properly, and fits snugly against the door. When opening and closing the door, there should be no stiffness or noise.
- Hinges: Check whether they work normally and whether there are any points that do not fit flush with the door; hinges must fit tightly against both the door and the frame.
7. Room Windows
Check to make sure that the window frame is installed at a right angle, with no gaps or cracks between the wall and the frame, the glass has no cracks, holes or scratches, and the locks function normally with easy opening and closing. When closed, it must lock properly with no gaps allowing dust, wind, or rain to seep in. Also check that the sliding tracks are sturdy and not stiff. In addition, the rubber seals should be checked by spraying water at the corners of the window and observing whether water leaks through. If no water seeps through, the seals are durable. If water seeps in, you should consult the contractor or a specialist to fix it.
8. Bathroom Floor and Sanitary Ware
- Bathroom Floor: Check the condition of the grout lines in the bathroom. The grout lines must be of equal width, fully filled into the grooves, sealing gaps to prevent germs from getting in, smooth and even, with no stains. Check whether the floor drain is tightly connected to the drainpipe to prevent water leakage problems. Also check the slope of the bathroom floor and water flow by pouring water onto the floor. If the water flows normally, not slowly, with no pooling, it means the floor has an appropriate slope. The appropriate floor slope is at a ratio of 1:100, meaning the floor slopes down by about 1 centimeter for every 100 centimeters or 1 meter of horizontal distance.
- Sanitary Ware: Test whether the toilet and bidet spray work normally, and check whether there is any water leaking around the toilet.
9. In-Room Electrical System
Use a charger or screwdriver to check the outlets, and check that every light works normally. In addition, you should use a leakage breaker tester to test whether the ground wire, circuit breaker system, and wiring are properly installed.
10. Plumbing System
Drain pipes must not be clogged. Joints and pipe runs must be properly installed, with no damp stains or water seepage. When the water is turned off, the meter must remain still.
11. Air Conditioning Pipes
Check that the air conditioner works normally, that condensate water does not leak, and that there are no abnormal noises.
12. TV Cable System
You should check whether the cable TV system works normally.
13. Do Electrical Appliances Work Normally?
Turn on electrical appliances, such as the water heater, exhaust fan, air conditioner, and the ventilation unit above the kitchen counter, to check whether they work properly. Also, try turning off all electrical appliances and check the electricity meter — if the meter is still running, it means there is an electricity leak. Also check that the number of electrical appliances is complete and their models are correct as agreed upon.
14. Built-in furniture
Check whether the built-in furniture has any defects, as built-ins are usually items ordered in large lots by the condominium project, which means some built-in furniture pieces may be prone to damage.
15. Furniture
Furniture such as tables, beds, and cabinets must be free of scratches, have smooth surfaces, and uniform color. The quantity and specifications of the items should match what was agreed upon. The installation must be sturdy, and drawers and cabinet doors must open and close firmly.
16. All glass panels
Glass panels should be in perfect condition, with no cracks; the sliding tracks should be sturdy and slide smoothly without stiffness.
17. Balcony and railings
Check whether the balcony or railings are sturdy and whether the height meets the standard. The balcony and railings should be 1 meter above the floor, and the gaps should not exceed 10 centimeters. Use a bucket of water to test the slope of the balcony floor — the balcony floor should slope approximately 10–19 degrees, because if the floor does not slope at an angle that allows water to flow into the drain, water will pool on the floor, which is not good in the long run.
What to do if problems are found during the condo inspection?

1. Record and compile the problem points
Stick Post-it notes or adhesive tape on the spots that need fixing and label them with numbers. Then take clear photos of the problem areas and note the details on the form or paper you have prepared so the issues to be fixed are visible.
2. Report to the project staff
Once you have finished recording the issues found, gather the details and photos of the points that need correction, then submit the document specifying the problem details to the project's Customer Service staff so they can proceed with the next steps of correction
In the case of hiring a professional condo inspection company, the buyer can simply submit the defect report compiled by the company to the Customer Service staff
3. Schedule a re-inspection after corrections are completed
After the project has corrected the reported issues, come in to check whether the corrected points are in good condition and whether the fixes were done correctly and completely If everything has been properly corrected, you can proceed with the condo ownership transfer with confidence
Why is a pre-transfer condo inspection important?

A pre-transfer condo inspection is extremely important because it assures buyers that the unit is of the quality agreed upon, that the structure is safe, and that it is ready to be lived in. In addition, a thorough inspection from the start also helps reduce minor problems and the burden of repairs later on.
FAQs about inspecting a condo yourself
1. Is a condo defect inspection different from a condo acceptance inspection?
‘There is no difference’ A condo defect inspection is the process of checking for deficiencies within the condo, such as structural, system, or detail errors, in order to repair and restore it to a condition that is safe for occupants and gives buyers confidence before the ownership transfer. Meanwhile, a condo acceptance inspection is an overall check of the condo unit's readiness before the transfer to correct deficiencies so the unit is of good quality and suitable for living.
2. When can buyers inspect the condo?
The condo can be inspected before the ownership transfer to make sure the condo is of good quality, genuinely usable, and free of deficiencies that could cause damage later on
3. How many times can buyers inspect the condo before the transfer?
The buyer can inspect the condo multiple times until the project resolves every point as agreed with the buyer, but normally, a proper condo inspection should be done at least twice: the first inspection to identify as many defects as possible, and the second to verify that everything is in order after the first round of corrections.
4. Is it better to inspect the condo yourself or hire an inspection company?
It mainly depends on the buyer’s convenience. You can inspect the condo yourself, but there may be limitations in equipment and some important details may be overlooked. However, if you choose to use a professional condo inspection company, the inspection will be more thorough and complete, with greater expertise and more standardized tools.
5. What should you do if the transfer has already been completed before the condo inspection?
Compile all defects by taking photos or videos as evidence and send them to the project, notifying the project to make corrections. Then make an additional contract for defect repairs, specifying all details in full and setting a completion deadline, or use the structural warranty rights, for which the buyer should read the warranty terms first, and then notify the condo of the problem details so the defects can be fixed accordingly.
Everything About Condos, from LivingInsider
- Condo Lease Agreements 2026: 10 Things Renters Must Know Under the New Law
- 10 Japanese-Style Condos in Bangkok with an Atmosphere Just Like Condos in Japan
- Before Renovating an Old Condo, What Are You Forbidden from Demolishing or Modifying?
- Compilation of 10 Condos with Jogging Tracks for a Relaxing Run Every Day Without Going to the Park
Find Your Perfect Location, All Projects at LivingInsider
Search for livable projects in prime locations, covering buying, selling, renting, and investing with LivingInsider, the No. 1 real estate marketplace website in Thailand, with over 3.3 million users per month and more than 9.5 million listing views per month, offering comprehensive real estate services.
Search Listings for Sale and Rent: Condos, Houses, Land
Find Condo Buy-and-Sell Listings in Popular Locations at
- Condos for Sale in Sukhumvit, Asok, Thonglor, Ekkamai, Phrom Phong
- Condos for Sale in Chidlom, Langsuan, Phloenchit, Ratchadamri, Lumphini
- Condo for sale on Lat Phrao early section, Ha Yaek Lat Phrao
- Collection of condo buy-sell listings in Bangkok and nationwide